|
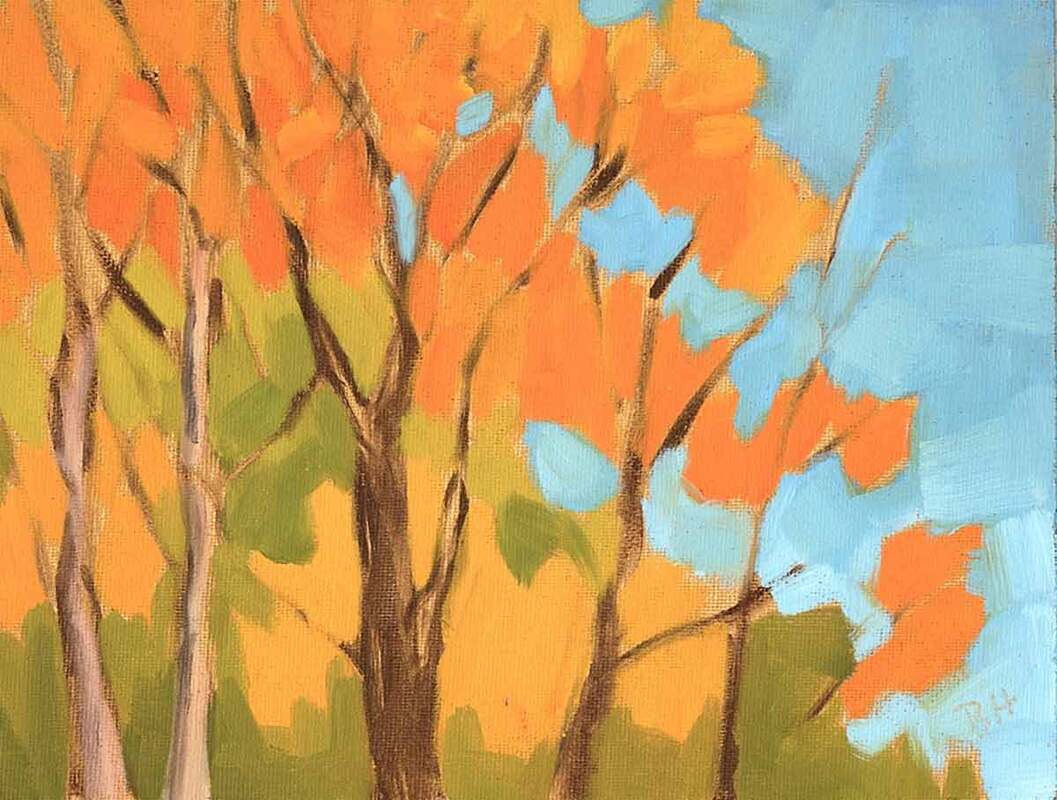
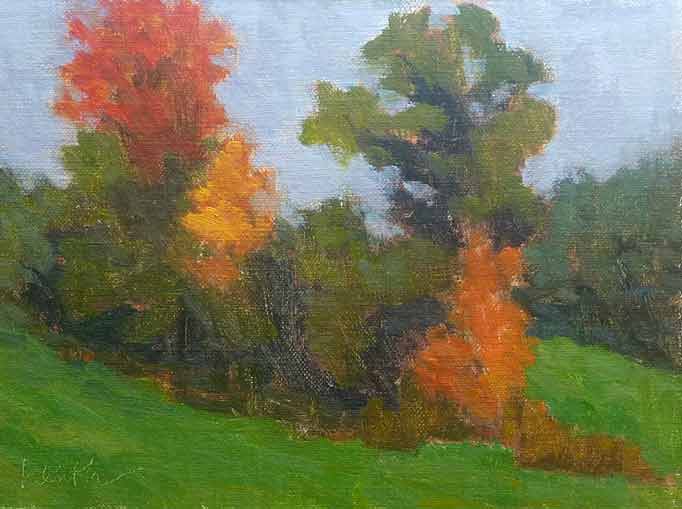
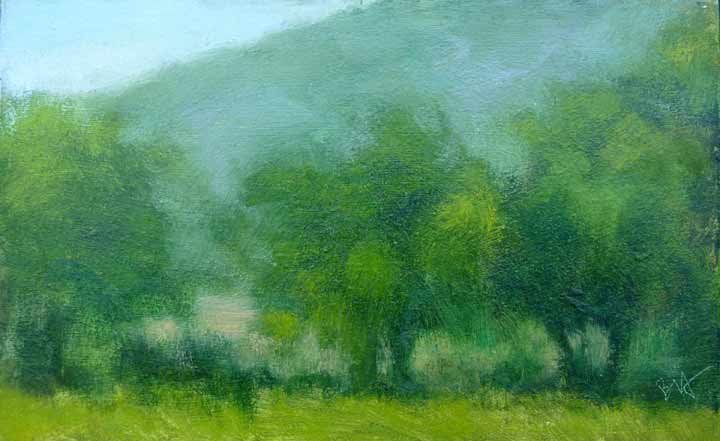
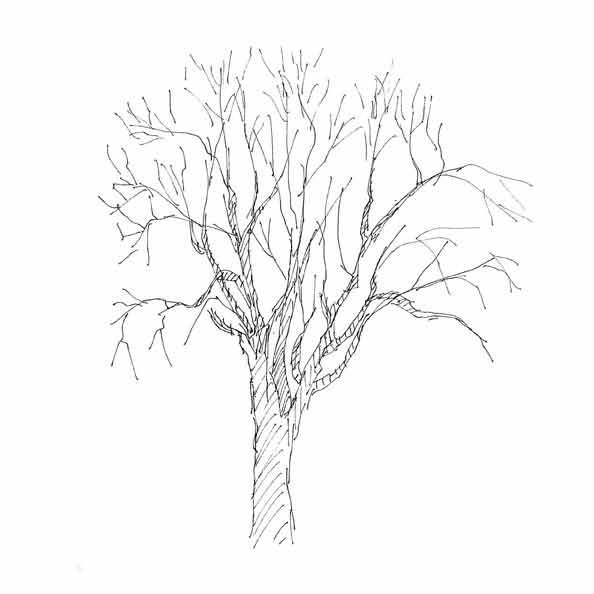
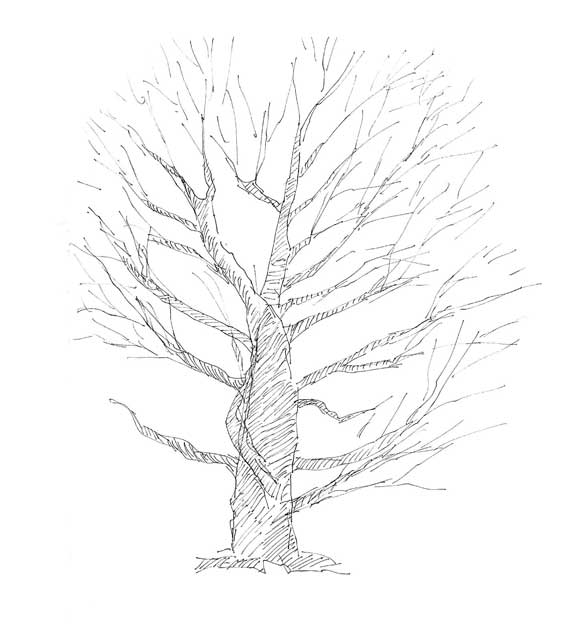
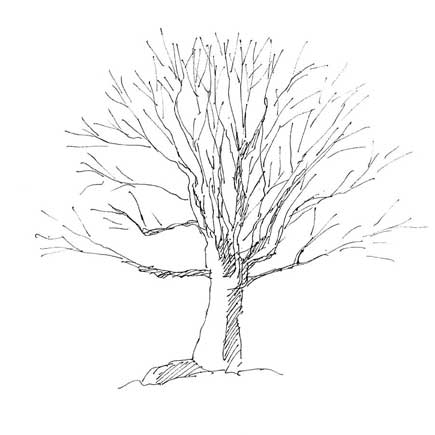
It's Fall 6"x8" oil on canvas panel I had the most delightful comment on Instagram the other day when I posted one of the leaf paintings from the last blogpost. Catherine asked if I knew what kind of leaf I'd painted. She and her grandson are trying to identify trees by their leaves. Fall is in the Air 6"x8" oil on canvas board And that took me right back to my childhood. I love trees. They are my favorite part of nature with the possible exception of bodies of water. And when I was a child I had this wonderful little paperback book that you could take into the forest and with a tree branch and its leaves, the book would ask you questions that led you to identify the tree. I used it a lot. And about 10 years ago I discovered the book is still available, for a mere $6 in amazon. Provencal Tree Study 4"x6" oil on French panel It's called Tree Finder: A Manual for identification of Trees by Their Leaves, by May Theilgaard Watts (1893 – 1975). May Watts was an American naturalist, writer, poet, illustrator, and educator. She was a naturalist at The Morton Arboretum and author of Reading the Landscape of America (credit wikipedia). The Tree Finder Books - left uses leaves, right for deciduous trees in winter This little book is a mystery lover's dream and a school child's game. I hope Catherine and her grandson enjoy it as much I did, and still do. I have a copy of the book and its companion, Tree Finder: A Manual for identifying Deciduous Trees in Winter, in the glove compartment of my car. And I couldn't be more grateful to May watts. Let me say agin, I adore trees. And winter is the best time to draw them, when the leaves are gone and the structure is visible. If you paint, there's nothing better than getting outside and drawing a few trees. And if you can identify them as well, that's frosting on the cake.
5 Comments
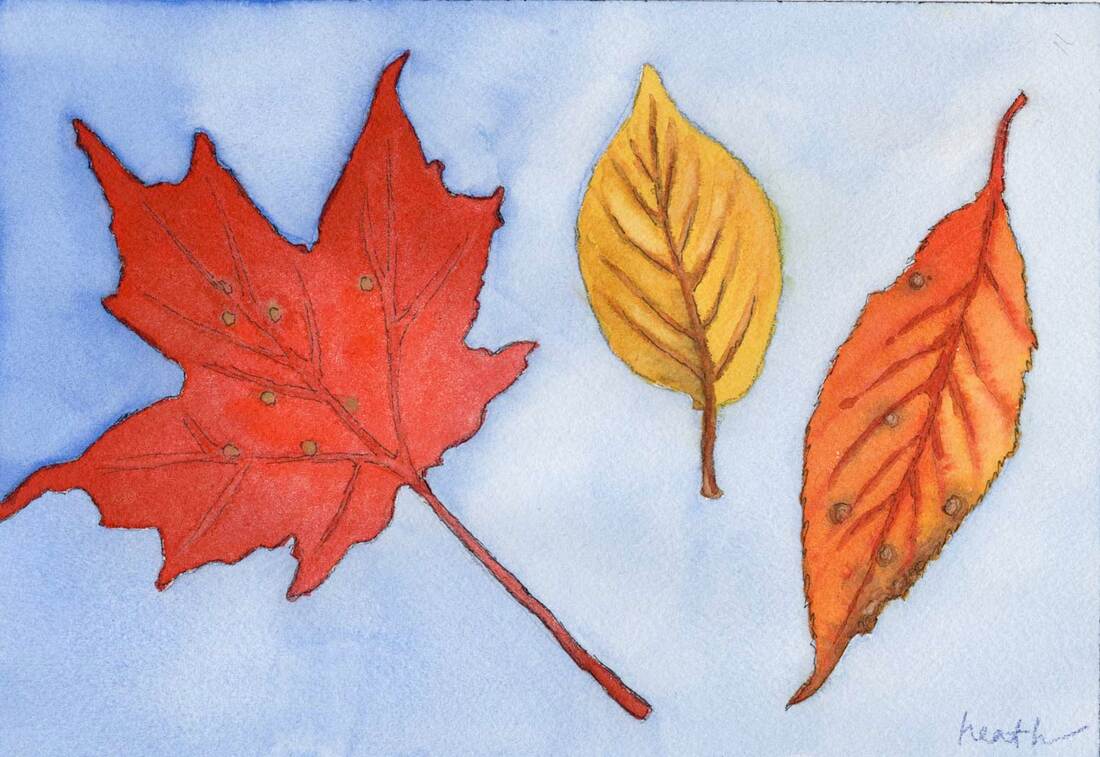
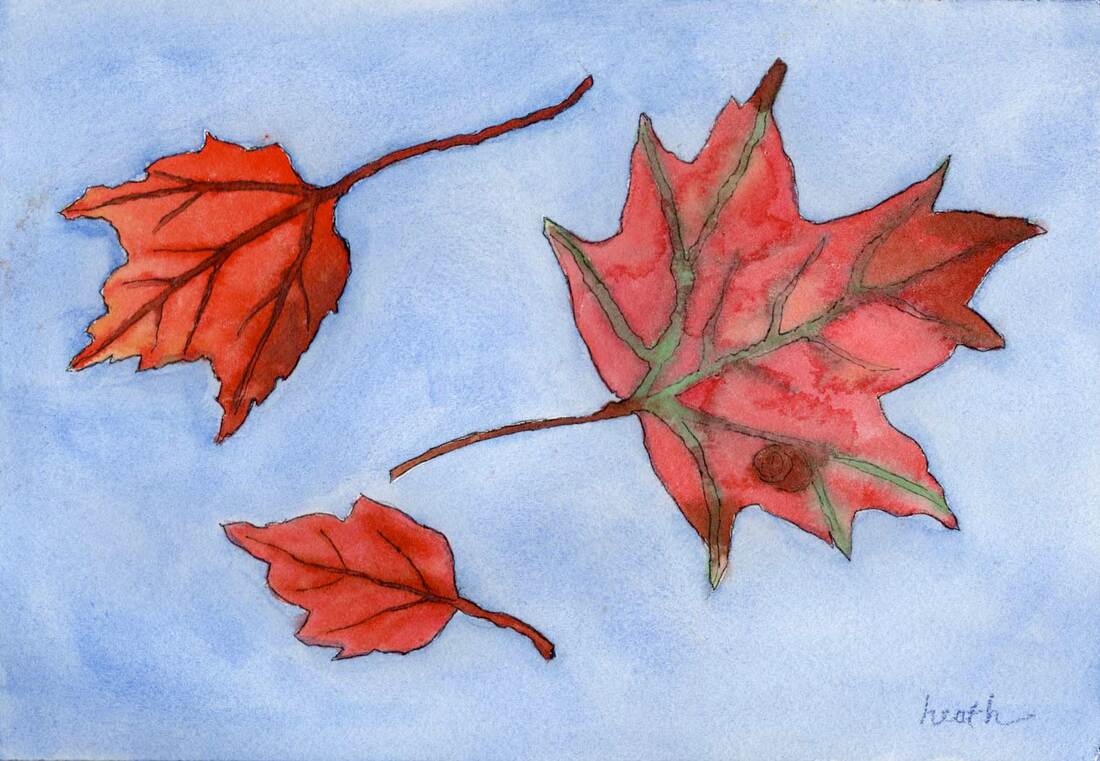
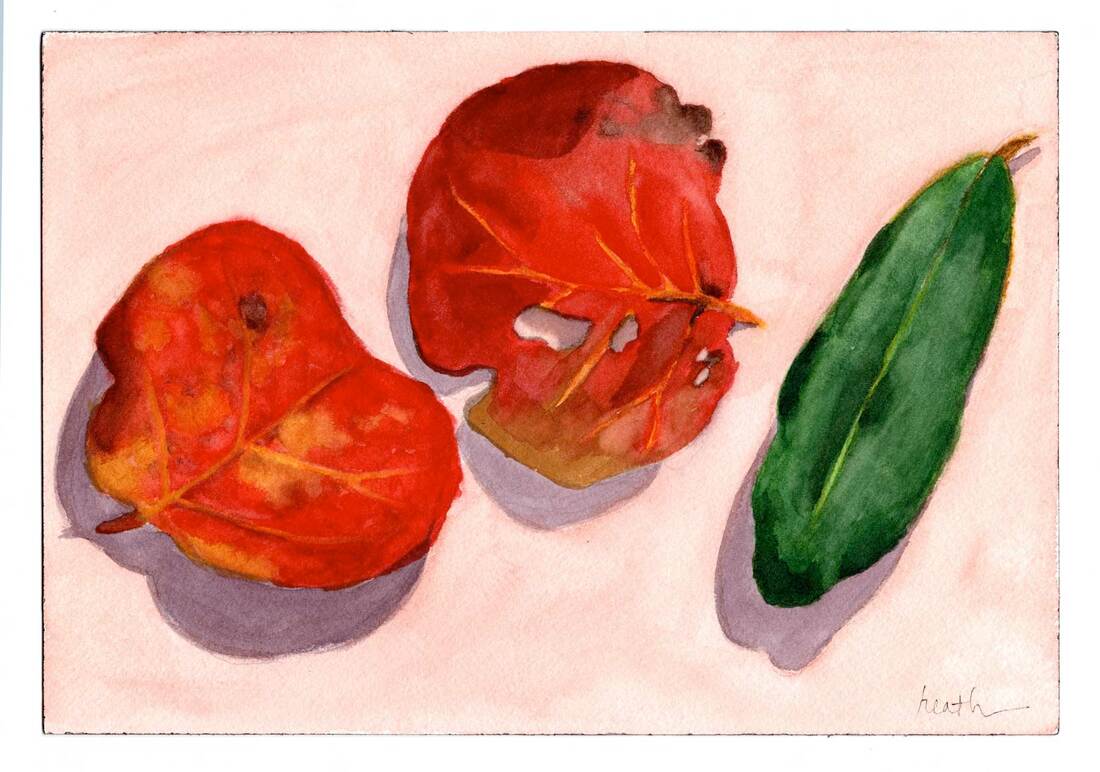
Watch Them Fall 7"x10" water color on paper There's something about certain subjects that makes me want to paint them with water colors. I first noticed it with Winslow Homer's water colors of the Bahamian surf. They just looked so right in that medium. Colorful fall leaves are another. I love dropping bits of color onto the wet paper to make the mottled colors of the fallen leaves. So if you see me on the side of the road, bent over looking through the leaves to choose my favorites, you'll know what I'm going to do with them. Falling Leaves 7"x10" water color on paper There's a difference in the process of painting with oils and with water colors. With oil paint, we start by painting in the darkest colors and work to the lightest. With water color most painters start with the lightest colors and work their way to the darkest. That's how I painted the leaves on these paintings. The background was added as the last step. And to draw the leaves, I laid them down on the paper and traced them. Three Leaves 7"x10" water color on paper The two paintings at the top were painted in the last week or so. The painting above was painted a couple of years ago in Florida. I especially like the beach plum leaves (on the left), they're green in the summer and red and orange and very mottled in the fall, fabulous to paint. Below are a couple of videos showing the process. Here I'm working on the yellow leaf, giving it some color variety and putting in the midrib and veins. To add the blue sky behind the leaves I prepared the blue paint which is dry in the pans (at the top) by wetting it and putting it on the palette. Then I wet the white part of the paper, so that I could drop in the blue paint. I didn't go quite to the edge of the leaves, that can be done when adding the blue paint.
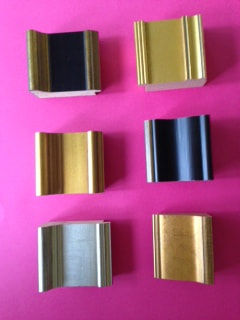
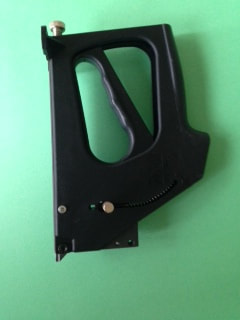
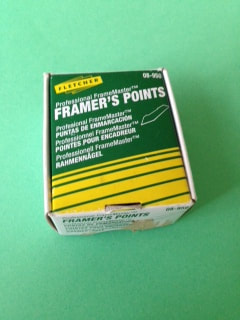
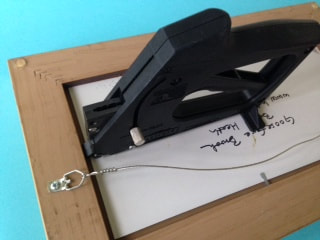
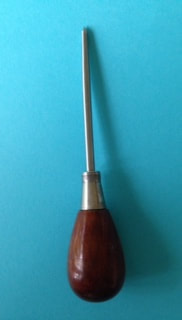
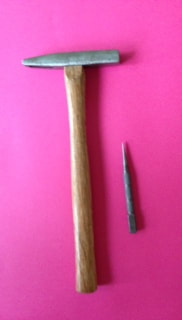
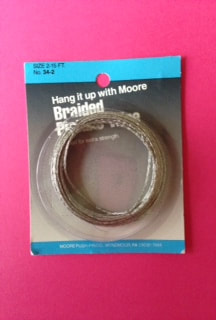
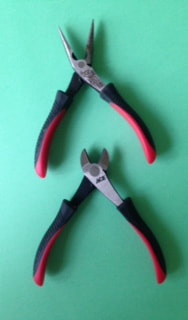
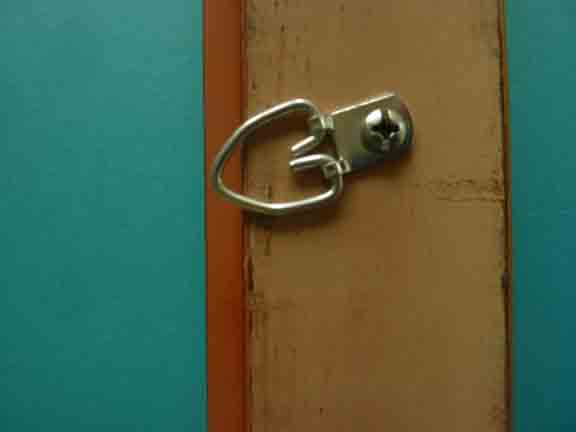
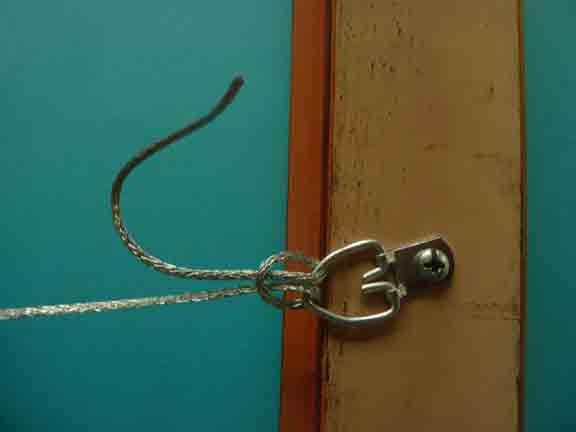
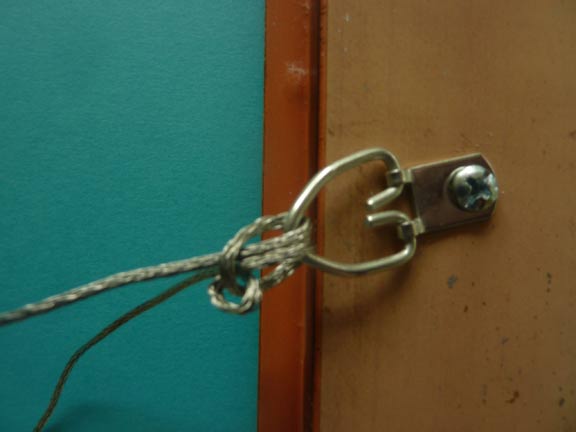
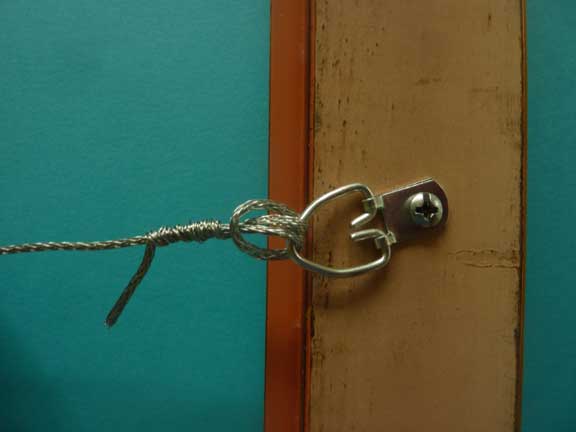
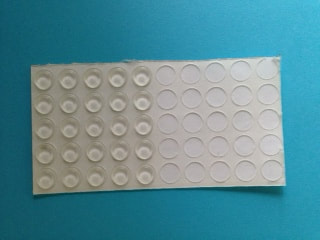
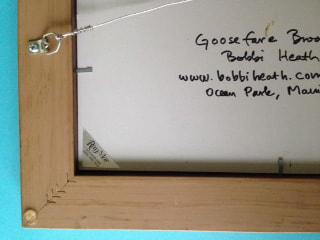
One thing I know is this. If I buy an unframed painting, the likelihood that it will shortly hang on the well is much less than if I buy one that 's already framed. I think this is true for most people. But it doesn't have to be this way. Framing oil and acrylic paintings is straightforward if you have the right tools and a ready-made frame. There are many quality picture frames available online, and they are very affordable. And, you can have the frames cut to whatever size you need, even when buying online. I've bought frames online from Frame Destination, Florida Frames, and Graphik Dimensions. Franken Frames has also been recommended to me. Alternatively, you can do pretty well at your local framers by simply having them make a frame for you, and doing the framing yourself. Oil and acrylic paintings don't require glass or mats, and a piece of paper across the back is not necessary. With the right tools you can frame a painting in half an hour. Picture frames and sample moldings Below are the hardware and tools that I like to use and where to get them. Framing4Yourself is great resource, both for the hardware and for instructions. The first task is to secure the painting in the frame. And I’m talking here about a wooden frame and a painting on a panel or canvas. A point driver is used to drive little metal darts called points into the frame, and those hold the painting securely in the rabbet of the frame (the part in the back that’s recessed). When you order a frame, order one with the dimensions of the outside of the painting. You’ll find that there will be a bit of wiggle room for the painting in the frame, you don't have to add that in when you order. Note also that the rabbet will have to be deeper than the thickness of the painting in order to use the point driver method described here. Point Driver Points I generally check the frame to see which side will look best as the top, dust the frame off, and lay it face down on a towel or something non-abrasive before dropping in and securing the painting. For 8"x10" paintings or smaller, I use one point per side, for larger paintings, I use two per side. An old palette knife is useful for positioning the painting in the frame while it's lying on your workbench. point driver positioned to drive the point into the frame The next task is to attach a wire for hanging, for which I use little gadgets called strap hangers. Always double check to make sure you know which is the top of the painting before making any holes in the back (I’ve messed that up a few times!). I make the holes for the strap hangers about 1/3 of the way down the back of the frame from the top edge. And I use an awl to start the hole for the screws that hold on the strap hangers. This is less work than drilling the holes, and I rarely find a frame that’s too hard for this approach. If you want, you can make a couple of hits with a nail set into the hole made by the awl to get a deeper hole. strap hangers and screws, where to order awl, where to order nail set and hammer, available at your local hardware store Picture hanging wire is readily available at your hardware store, and Framing4Yourself has a great selection. Choose wire that’s rated for more than the weight of the painting plus frame. I find the non-coated wire to be easiest, but that’s a personal decision. Needle nose pliers and wire cutters are also useful. picture hanging wire needle nose pliers and wire cutters, available at your local hardware store strap hanger screwed to back of frame wire tied on to strap hanger an extra knot before wrapping the wire (I do this for larger paintings) excess wire wrapped around the hanging wire (be sure to neatly cut off the end) And finally, bumpers go on the bottom corners of the painting to keep it from banging into the wall. To finish off the framing, be sure to include information about the painting on the back, e.g. title, painter, location, etc. You can photocopy this information from your receipt if it is not already on the back of the painting. Bottom left corner of the back of a framed painting showing the wire attached with a strap hanger, the points, and the bumper If you've bought one of my paintings, have a frame that fits, and are local, I will be happy to frame the painting for you. Please contact me.
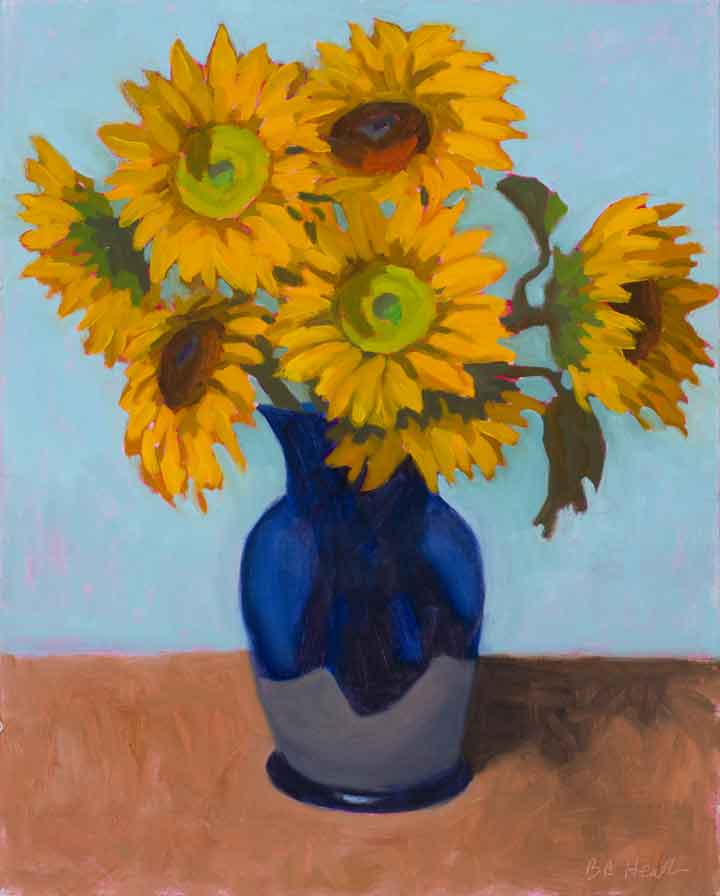
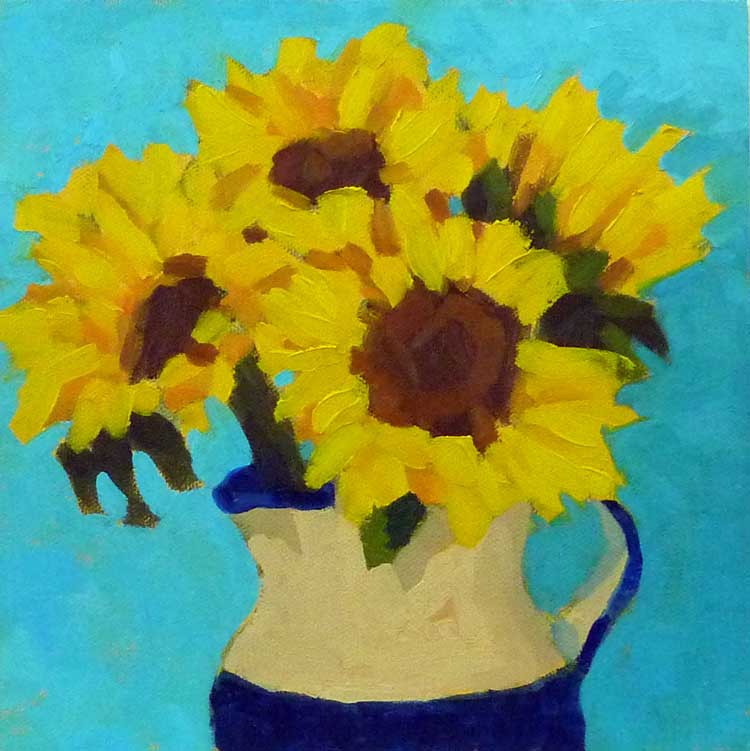
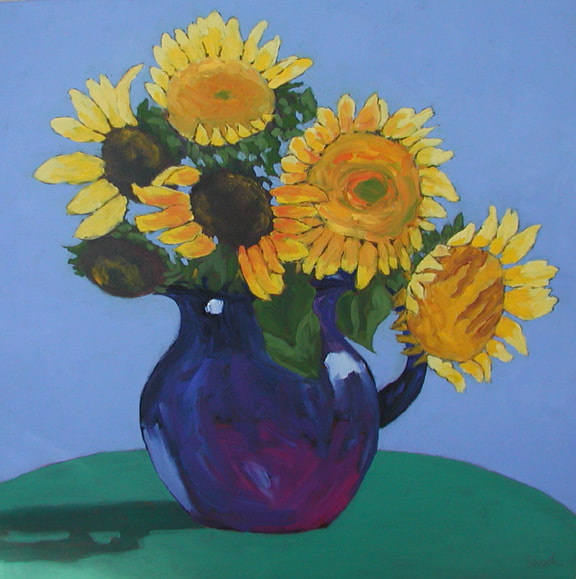
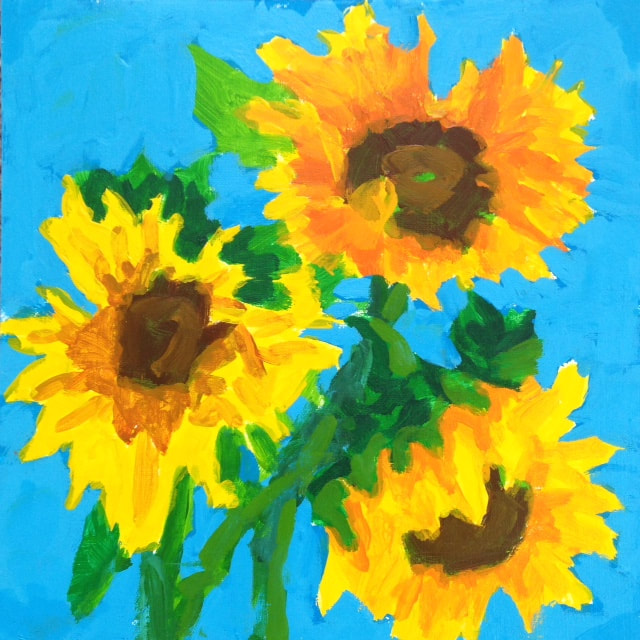
Vase of Sunshine - 20"x16" - oil on linen panel - 2014 I've missed seeing sunflowers this year. I saw a few in people's yards, but it seems that several of the places I normally find them didn't grow any this season. But don't give up hope, they are still available in some markets, so you can create your own vase of sunshine if you hurry. And how cheerful that would be on a day like today, when it's cold and dreary outside. Sunflowers - 8"x8" - oil on canvas panel - 2011 The paintings in this post are some of my favorites of sunflowers I've created over the years. They are one of my favorite painting subjects. There's so much to them, they're "chunky", in that there are lots of shapes and angles, and they have mass and weight. And bright colors too. There's a lot to love about a sunflower. You can see here how my paintings have changed over the years with these images. And I'm not the only artist that as loved sunflowers, Van Gogh sunflowers, anyone? Sunflowers with Blue Pitcher 24"x24" oil on canvas I love to the paint the flowers in vases, where I can arrange the stems to show off the sunflowers to their best advantage. But there's something about having a whole field of them spread out in front you that is pretty amazing. Colby Farms in Newbury, Massachusetts, has one of those fields each year. You can wallow in sunflowers there. I was interested to find on a late afternoon visit that the flowers were not facing the sun. In fact the leaves of the sunflower follow the sun by a process called heliotropism, but only the budding flowers do this. Once the flowers are mature the stem stiffens and they always point east towards the sunrise. I found the best viewing (and easiest parking) there was in the morning. Unfortunately, the 2020 season is past, but do check it out next year. Another recommended spot for sunflower watching in New England is Coppal House Farm in Lee, New Hampshire. Their season runs from late July through early August. If you know of a sunflower Farm in Maine that allows visitors, please let me know! Three Sunflowers 8"x8" acrylic on treated paper And now for something completely different, sunflowers in acrylic, above. My oil paintings are done alla prima (wet in wet). The paintings are done in a couple of hours, before the paint has a chance to dry. In acrylic painting, on the other hand, the paint dries very quickly, while you're painting. Even using the same colors, the look is very different. Which appeals to you most?
|
AuthorBobbi - Painter. Sketcher. Teacher. Boat and Dog Lover. Archives
July 2024
|




 RSS Feed